I want to thank you for your support and choosing to ride with Lift Foils! Every day we strive to continue leading the industry with every product we craft to ensure you have the best foiling experience possible. We appreciate you being part of the Lift Family.
LCS FIXED PROPELLER INSTALLATION GUIDE
Nick Leason, Founder and CEO
INSTALLATION
STEP 1
⚠️ Before you begin, it is critical all eFoil equipment is turned off and the battery is disconnected before working with or around the motor or propellers.
The Lift Connect System is quick and easy to assemble. Check to make sure you have all components ready for your installation:

All tools required for installation are included in your LCS kit.
There are 2 different setups for you to choose from; with or without the shroud. Using the LCS fixed propeller without the shroud requires use of the LCS tail cone. The LCS system allows you to easily swap from one setup to another.

WARNING: Using a propeller without a shroud can be dangerous and greatly increases the risk of injury and/or death. This option is for advanced riders only.

STEP 2
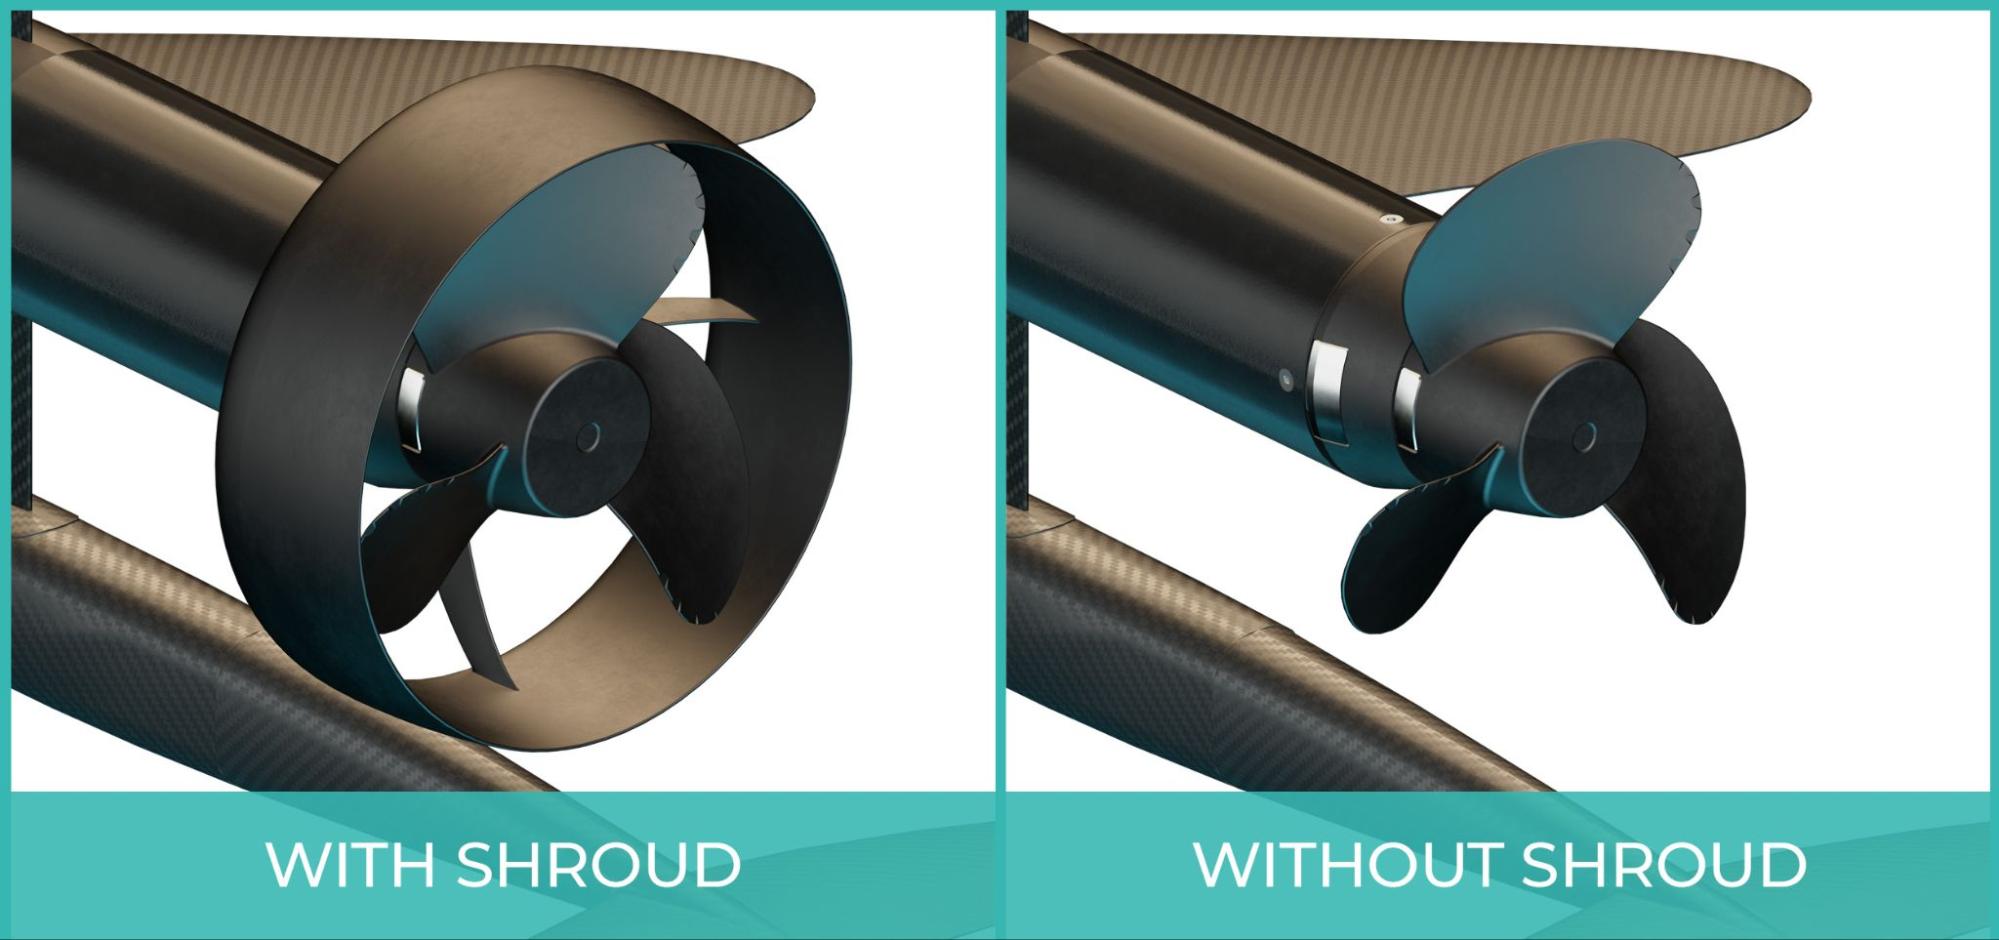
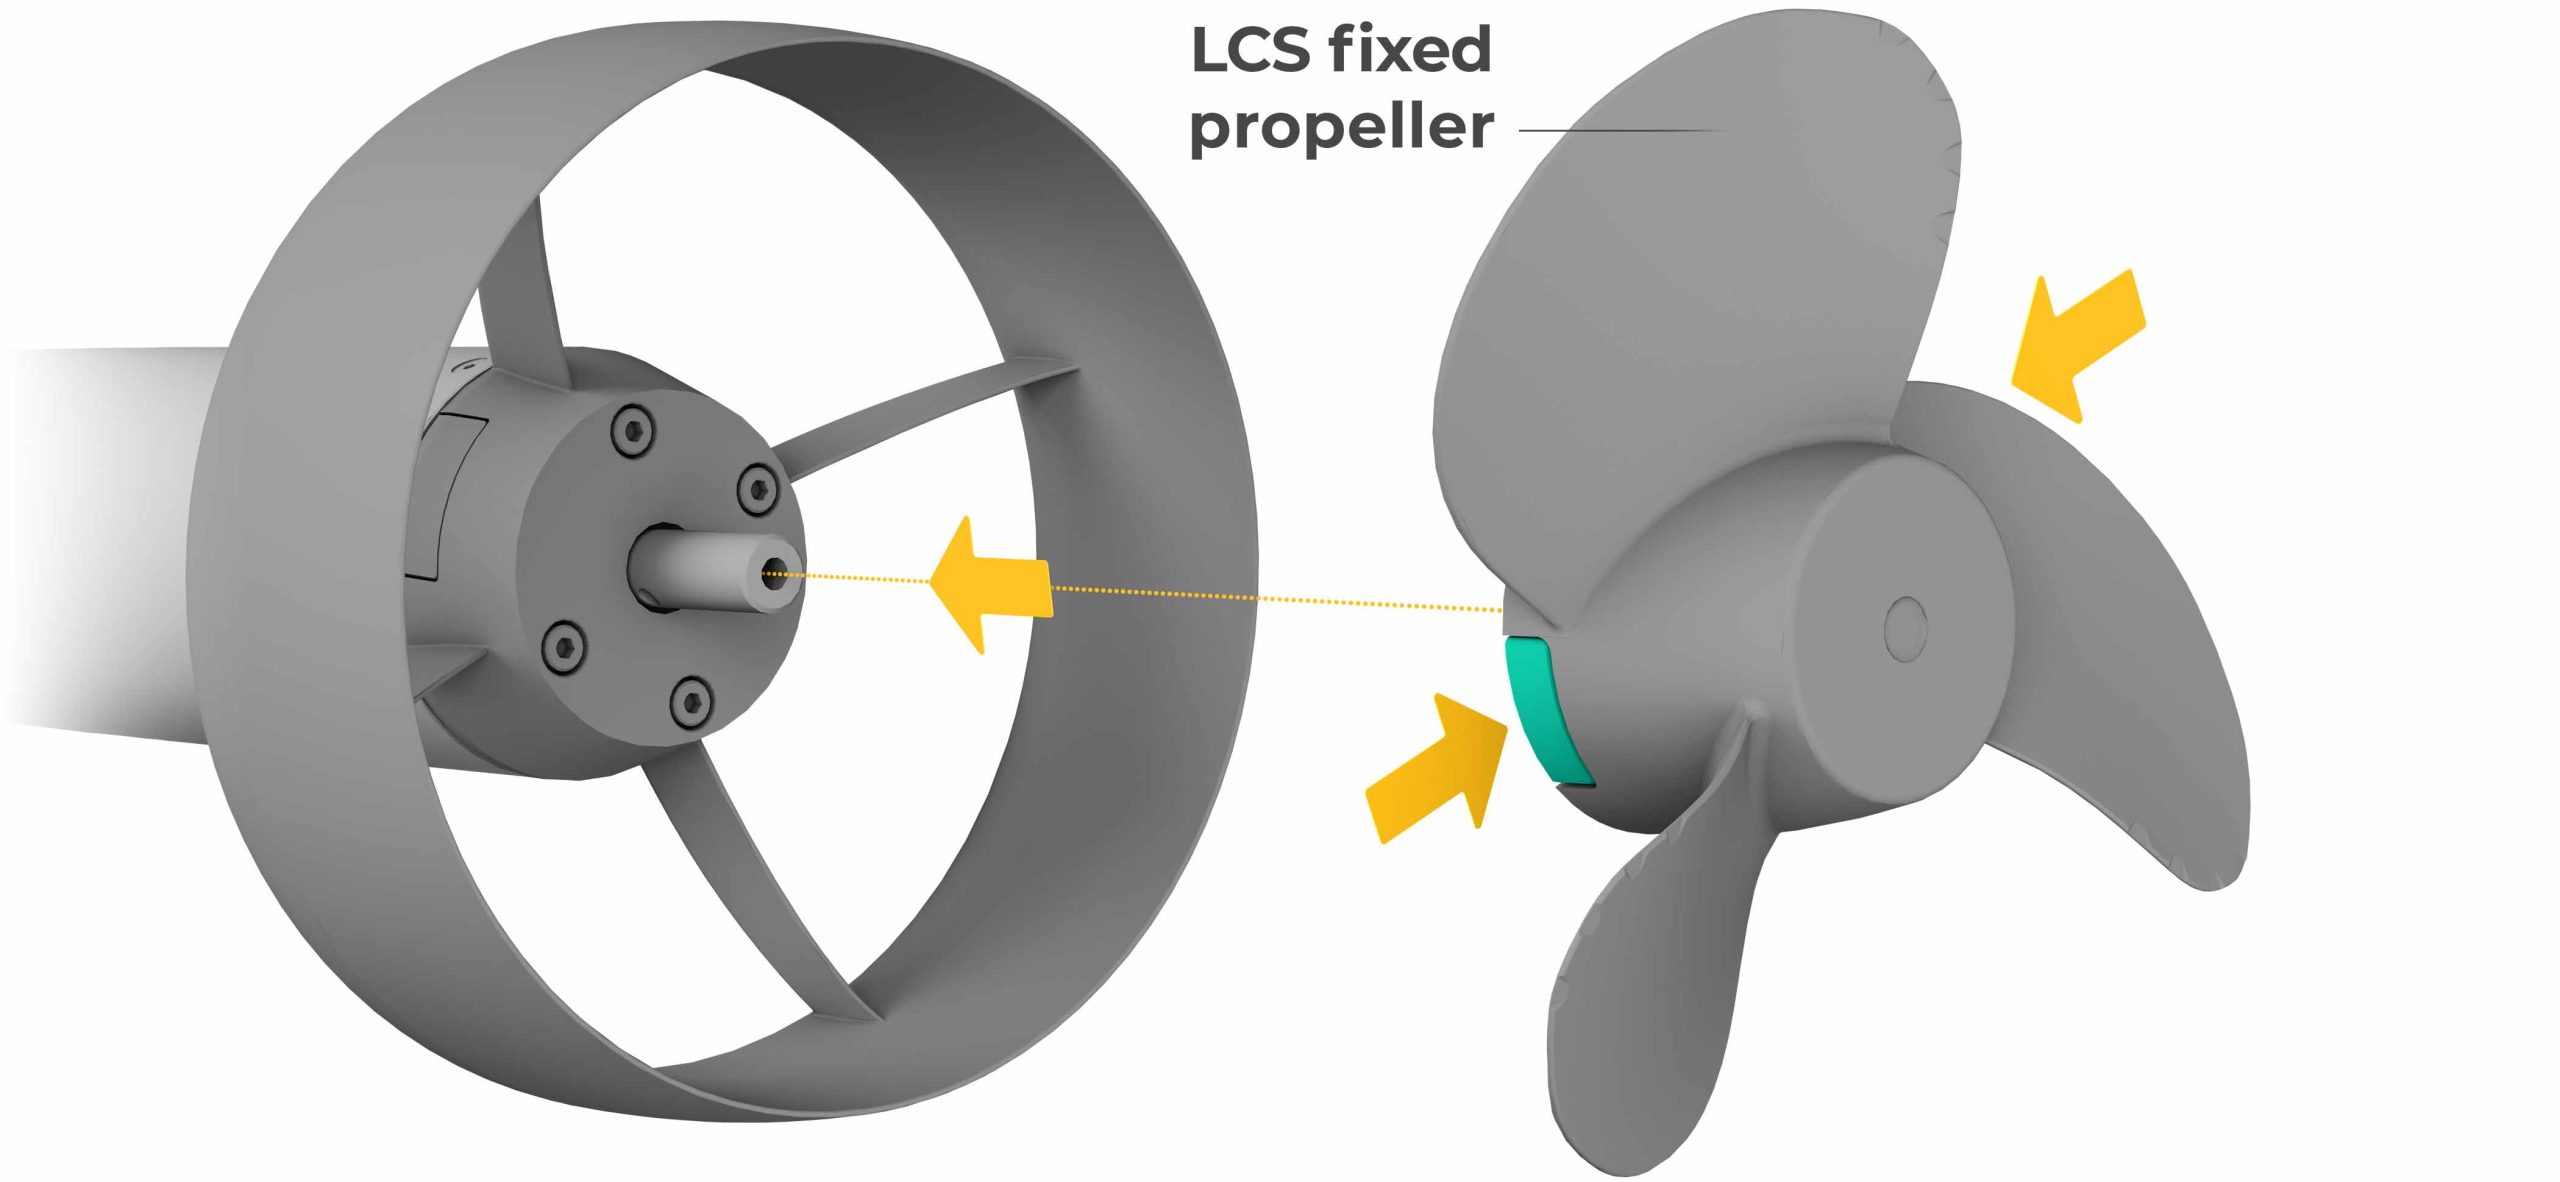
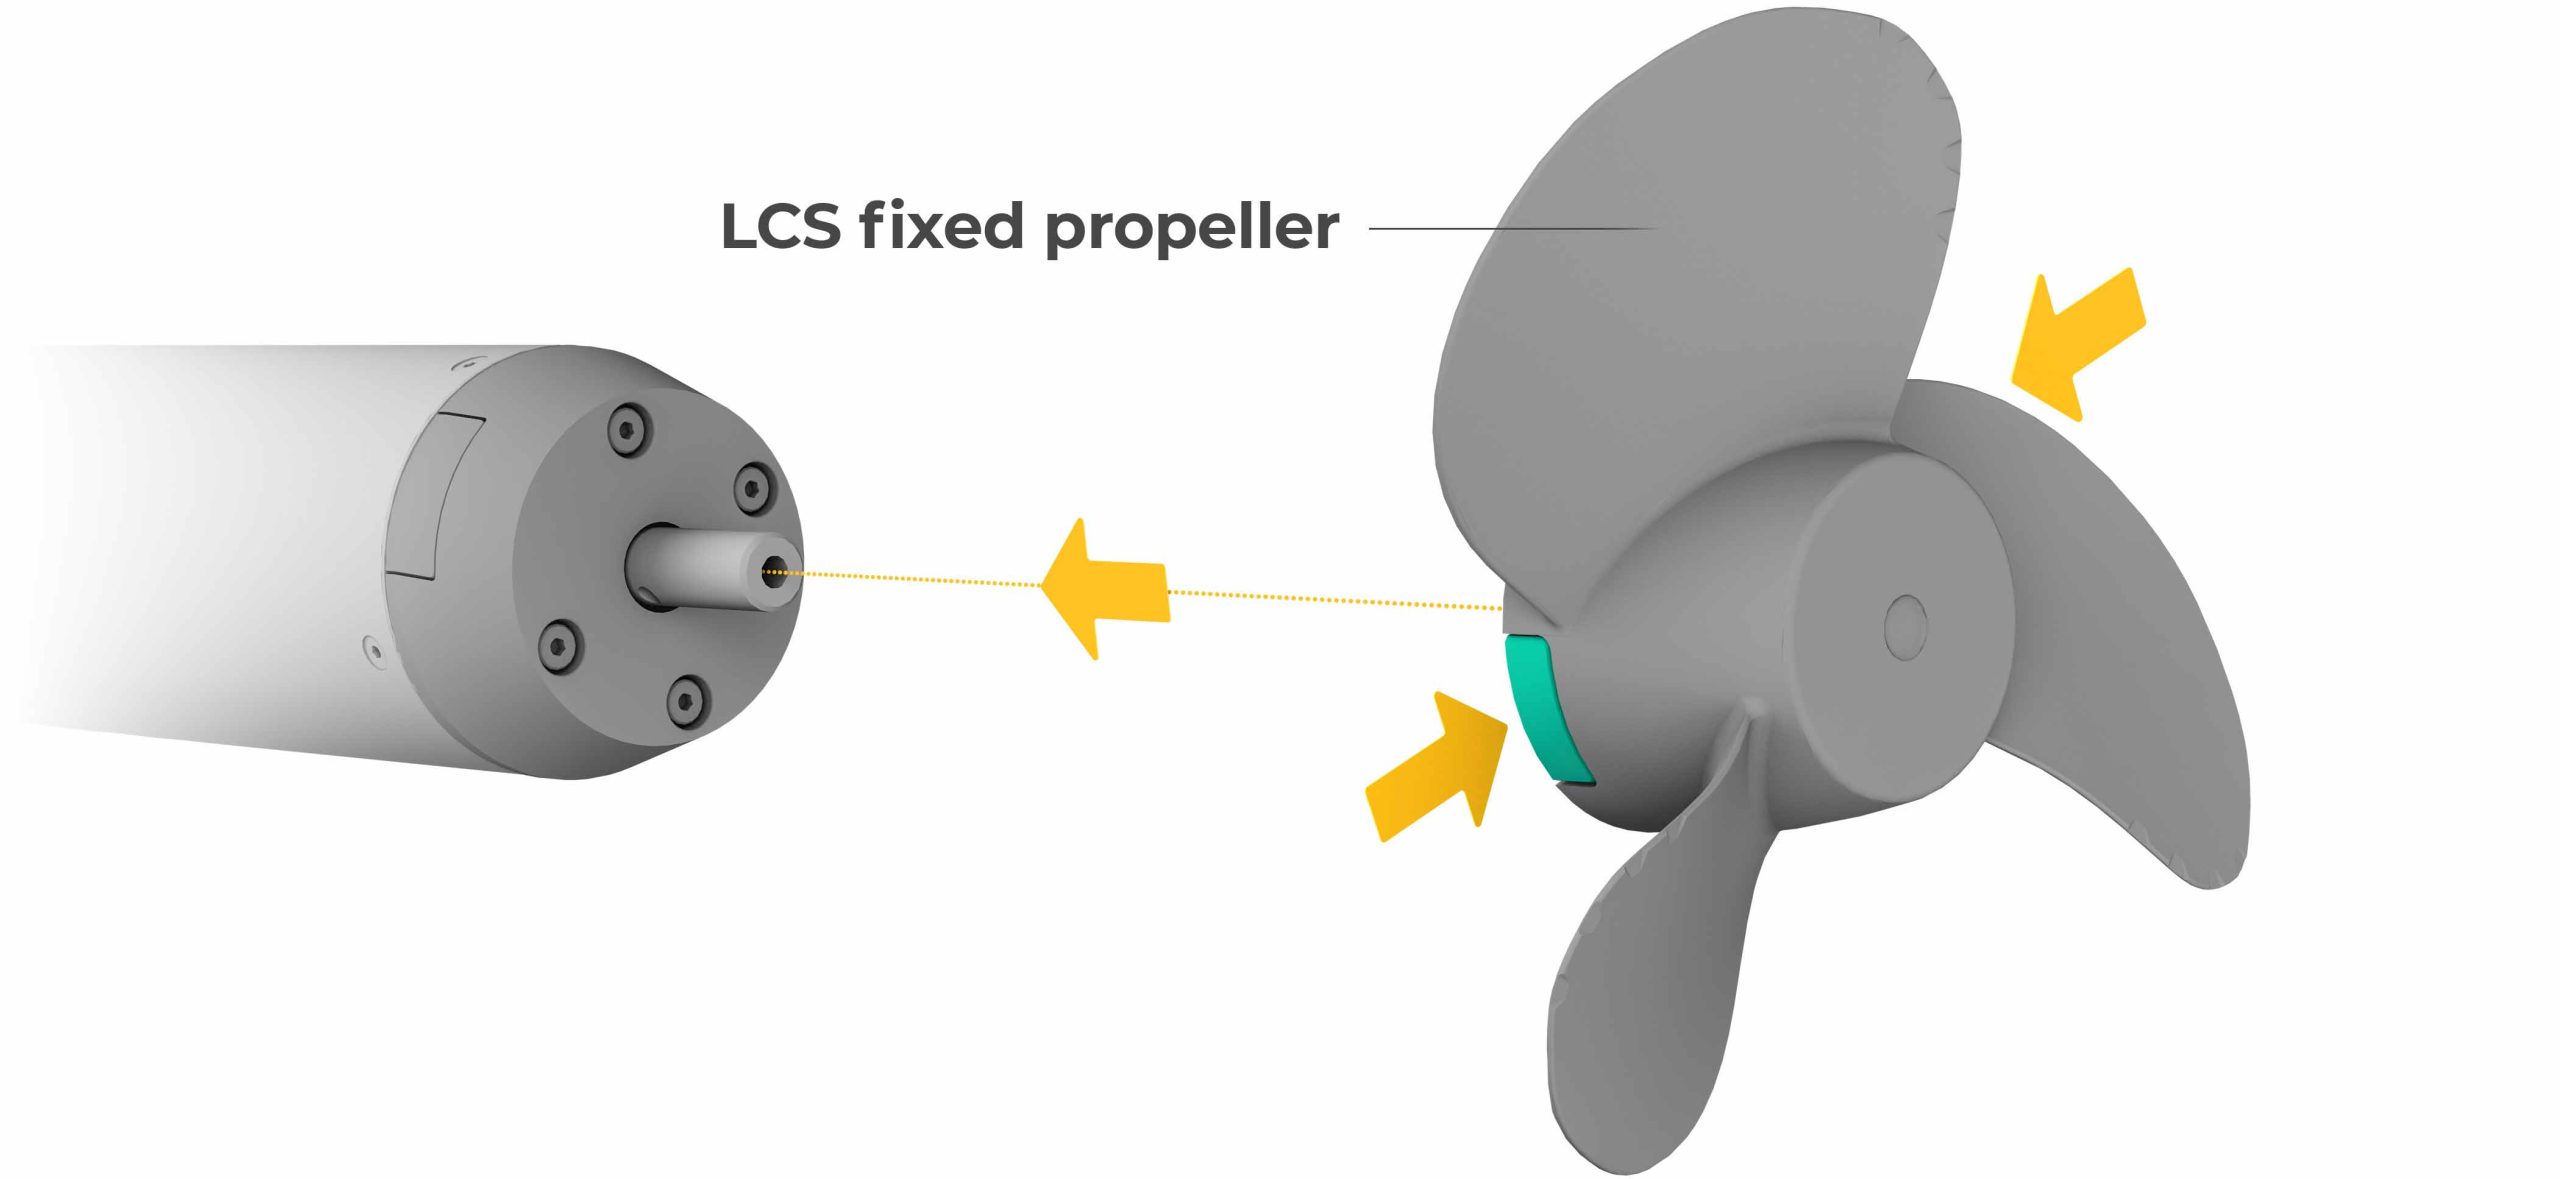
Before beginning the LCS Jet installation, remove any existing propulsion components, such as a propeller, jet, or shroud. The base of the motor should be clear and visible, as shown below.
If you already have the LCS base plate installed from a previous LCS product, proceed to step 3.
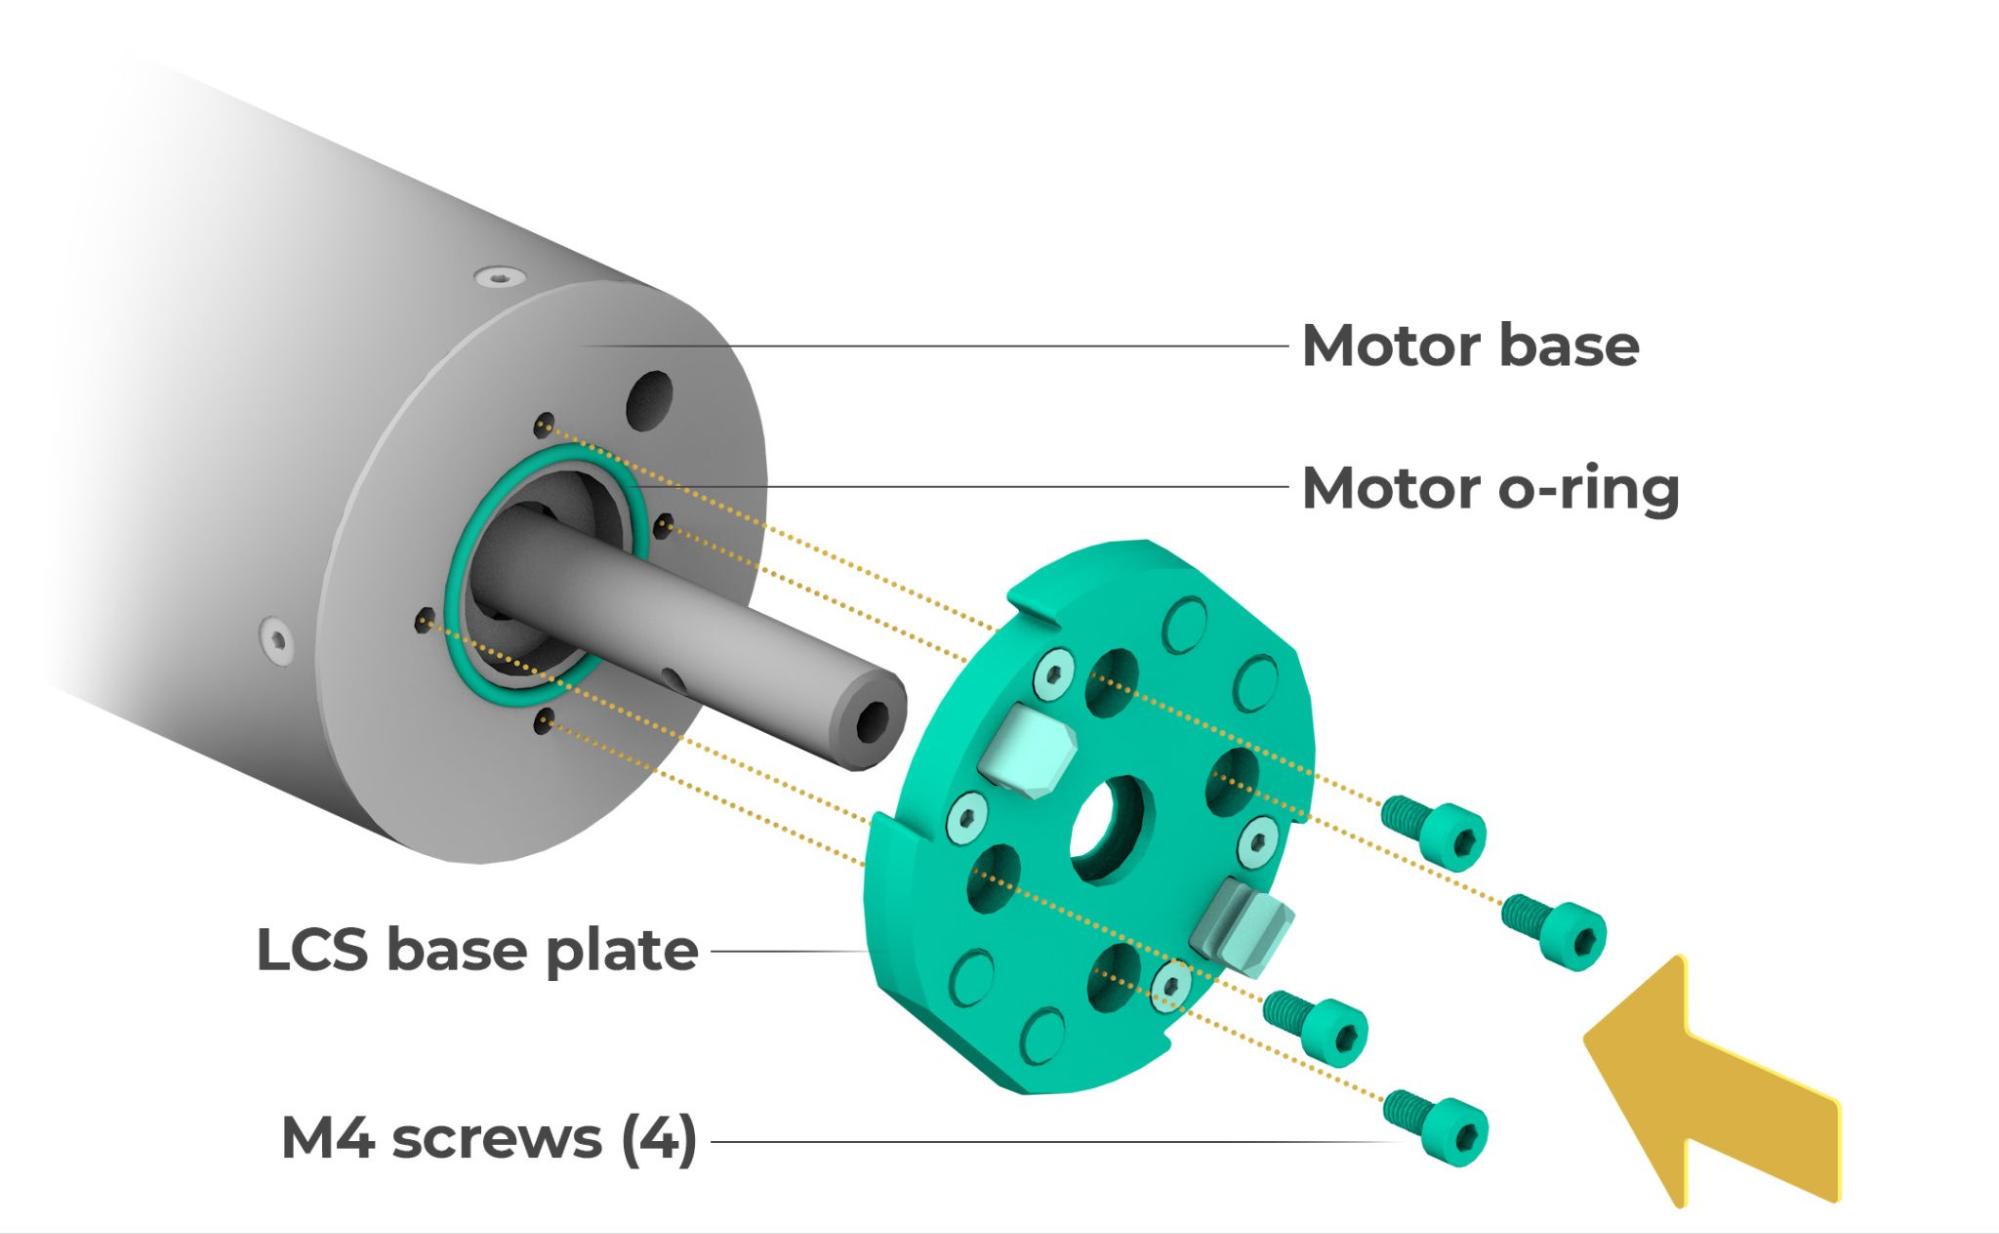
Please note that your previous hardware setup may have included an o-ring (shown below). You can re-use your existing o-ring, or install the included o-ring for your LCS Jet configuration.
Ensure the o-ring is tightly in place before attaching the LCS base plate. Next, use the four M4 screws to attach the LCS base plate to the base of your motor. Apply thread-locking fluid to screws before installation. Do not overtighten the M4 screws.


STEP 3
Next, install either the LCS shroud or LCS tail cone, depending on the setup you prefer. Both parts are installed the same way. Install the LCS component by depressing the tabs while pushing it onto the motor shaft. You may need to rotate the component once it is on the motor shaft to align the tabs with the connection point. Once properly aligned, you should hear it click into place, creating a firm connection. Check to ensure the tabs have returned to their original position once connected.
Shroud Installation:

Tail Cone Installation:


STEP 4
Install the LCS propeller using the same technique from Step 3. Depress the tabs, push the propeller onto the motor shaft, and rotate it until the LCS tabs click into place.
Shroud Setup:

Tail Cone Setup:

And that’s it! Your LCS Fixed Propeller is ready to use. Enjoy!